We are currently working on getting a geothermal system installed. Our wonderful president removed the cap on the credit so now a straight 30% tax credit is available on a geothermal system installed in 2009. We have a ridiculously old furnace that is horribly inefficient. I hate even using it but we had to stay warm. How does a geothermal work? I'm glad you asked. :)
Up here on the surface where we all live the temperature is quite variable but deeper underground it stays fairly constant. I remember going to visit Ohio Caverns when I was little and hearing that the caves stayed about 60 degrees year round. Geothermal heating/cooling takes advantage of this property. Loops are laid into the ground either vertically or horizontally and fluid is circulated through them. This fluid absorbs the heat from the ground and circulates it into the home where it is used to heat the air. In the summer, it works in reverse by heating up the fluid in the pipes and dumping it back into the ground.
They are also really efficient. "For heating efficiency, the efficiency of an energy saving geothermal system is known as the COF or Coefficient of Performance, which is the ratio of BTU ouput (amount of heat extracted from the heat source) to BTU input (BTU equivalent of the electricity used as input). ENERGY STAR rated geothermal heat pump systems must have a COF of 3.3 to 3.6 (or greater), depending on the loop type. For comparison, the COF of the best energy-saving electric heaters is 1 (one BTU of electrical energy produces one BTU of heat). The COF of a 94% efficient high-efficiency gas furnace would be 0.94.
For cooling efficiency, the same energy efficiency rating is used as for air conditioning systems, the EER or Energy Efficiency Ratio. ENERGY STAR rated geothermal systems must have an EER of at least 14.1 to 16.2, depending on the loop type. Compare this to only 14 for most standard air conditioning systems." (Extracted from http://www.green-energy-efficient-homes.com/energy-saving-geothermal.html) Pretty cool huh?
It comes at a bit of a hefty price tag or so it seems at first glance. Our system that we plan to put in our house will cost around $20,000; however, after a credit for getting our contact at the Home & Garden Show and the tax credit of $6000 the cost is more around $13,000. When considering this will take the place of both a furnace and an air conditioner (which our house doesn't have right now), the system should pay for itself in savings within one to two years. Here's how I calculated:
Cost of system: $20,000
less H&G credit: (600.00)
less tax credit: (6,000.00)
less cost of new furnace: (5,000.00)
less cost of AC: (4,000.00)
Total remaining cost to be justified=$4,400.00
Here is where the beauty of the geothermal comes in. Since most of the "working" parts are underground and thus not exposed to the elements, the life of the unit is 20-30 years. Almost twice as long as a conventional gas fired furnace. So, that would cover the other cost.
I know not that many people read my blog, but as a huge supporter of green technology I feel it is important to let as many people as possible know that this is out there and possible. Some people at work didn't even know that geothermal was residentially available even though it has been since the late 80's. I'm proud and happy that I will get to put my money where my mouth is, though I think the few people that read my blog know that I try to do that everyday. :) Now we are just crossing our fingers on getting financing for it.
Wednesday, March 25, 2009


Tuesday, March 24, 2009
Busy weekend and sick
Well, the spring cold finally got me and I am home sick today. My sinuses are all stuffy, I feel dizzy, and have a tissue almost permanently attached to my nose it seems. On the bright side, we got a ton of yardwork done this weekend. We found some really old bricks out near our shed that we were originally going to use to build a compost bin. Since we want it to last though, we decided we should probably just buy new ones and mortar them. I just have to convince my dad to come up and work some bricklaying magic.
The bricks do make great walking stones though. Josh busily laid out a path this weekend and yesterday around our little pond. I had the unenviable job of mucking out the pond which we both decided was the most disgusting job either of us will have to do all year. The water stunk and was full of rotting leaves, rotting corpses of worms, caterpillars, and other creepy crawlies. We tried to get photos of before and after and hope to add more once we have the plants in. This area will be our future herb and dye plant garden since it is so near the kitchen.
Before:
The bricks do make great walking stones though. Josh busily laid out a path this weekend and yesterday around our little pond. I had the unenviable job of mucking out the pond which we both decided was the most disgusting job either of us will have to do all year. The water stunk and was full of rotting leaves, rotting corpses of worms, caterpillars, and other creepy crawlies. We tried to get photos of before and after and hope to add more once we have the plants in. This area will be our future herb and dye plant garden since it is so near the kitchen.
Before:
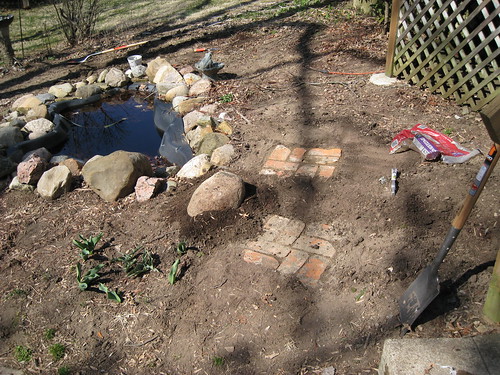
After:

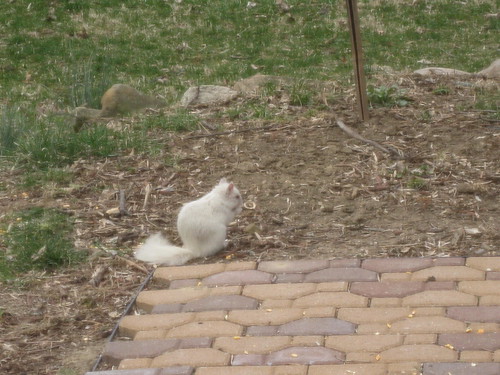
Tuesday, March 10, 2009
Sprouts
Apparently there are tulips, hyacinths, and chives planted in our yard. Who knew? I must be in a mood because my socks I'm knitting are sprouty too and in Knitpicks Risata in the Seedling colorway.


Saturday, March 7, 2009
Spring hath sprung!
So I've been having a bit of the blahs for the last few weeks. Things aren't going so well at work. I was switched from salary to hourly and while I was told it was for legal protection reasons, it still really upset me. I feel like at this point in my career I shouldn't be getting paid by the hour. Sadly though, there isn't much I can do about it other than try to get a promotion so I had to take some time to get myself into a frame of mind to suck it up. I normally am a bit more resilient than this but I was coming off a pretty horrible weekend the weekend before.
I had some of my old high school friends over two weeks ago and ended up getting into a pretty heated political argument. Apparently one of my friends has become VERY conservative, which I totally wouldn't mind, but she decided to keep bringing things up when I tried to change the subject. She believes that it is ok to torture people to obtain information and that quote "If they would just tell us what they know, we wouldn't have to keep torturing them". I asked what about the people who don't know anything, to which she had no answer. But she was so flippant about taking away another person's basic human rights that I was apalled. The discussion continued to global warming, which she does not think is anthroprogenic in nature. Those who know me know this is my hot button. Anyway, needless to say the whole thing went very downhill from there and finally she left. We will probably not be friends anymore. On one hand that kind of bugs me since we had been since childhood but on the other hand I don't know that I can be friends with someone who believes in things I believe are unconscienable and who when confronted with facts, just digs in deeper. But it took me a bit to reconcile myself to that one too.
Anyway, I am back and today we have absolutely wonderful weather. It is amazing what a little sunshine and non-freezing temperatures will do for one's spirit. Our thermostat read this with the windows open and the attic fan on:
 Yeah baby! 73 balmy degrees! It put me in such a spring cleaning mode that I cleaned all the windows and transoms in the house.
After that I started on the new bunch of seeds we got from http://www.heirloomacresseeds.com/. I really was impressed by their quick service and good prices. They have a large selection of heirloom and organic seeds. I used the same peat pot kits and put in 3 kinds of tomatos, cabbage, green onions, brussels sprouts, beets, arugula, bibb lettuce, celery, and lemon balm. I can't wait until we can start putting things outside. If the weather holds tomorrow, I will start working on conditioning all of the woodwork in the house.
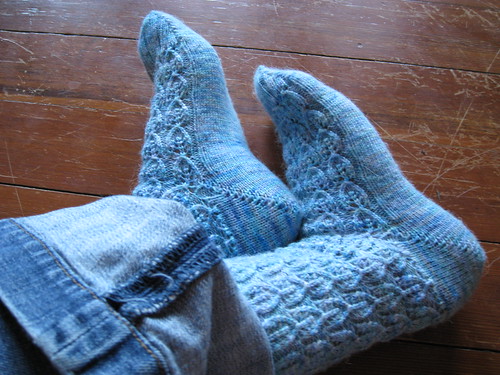
Last week I did manage to finish a pair of socks also. I used the Knitpicks Imagination yarn in the Looking Glass colorway and the Muscari pattern from www.Knitty.com. I bought this yarn when it first came out but this is my first finished object with it. I am totally in love. It was so soft and nice to work with and these socks kept my feet toasty in the last batch of single digit temps. It was 7 degrees on Monday!
Tuesday, February 17, 2009
Teeming with life!
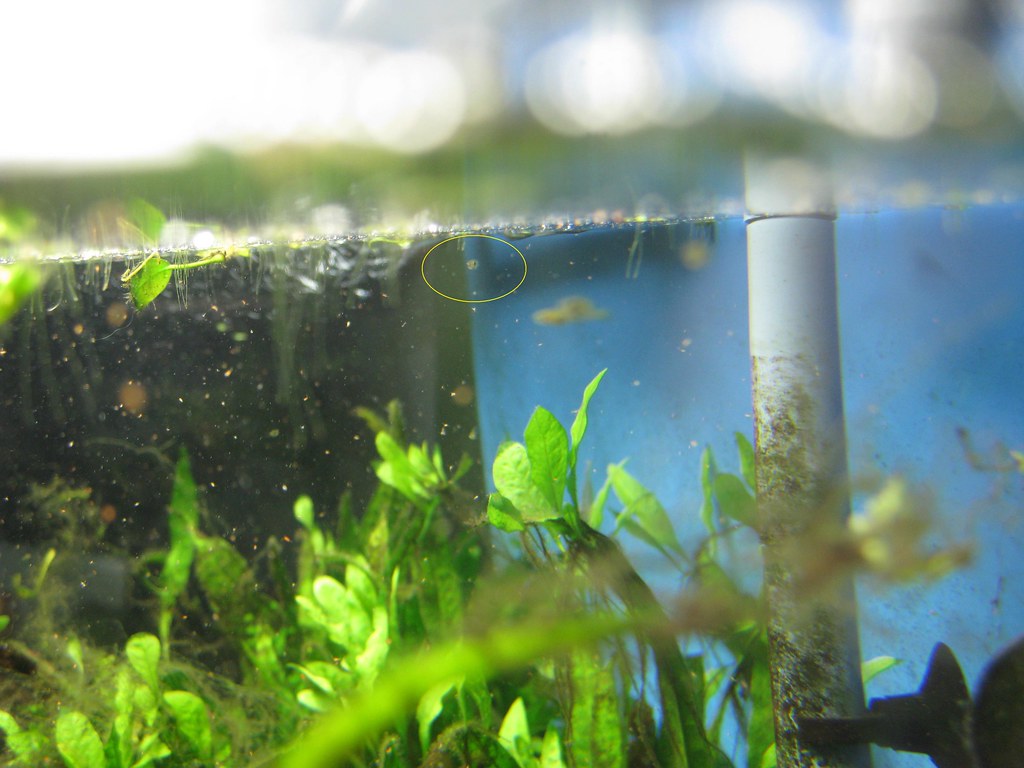
Our house is teeming with life lately. Our female Endler's livebearer had a host of tiny babies. We are so excited. I tried to capture them in photos but they are so small, it is quite difficult. Basically they are just eyes and a tail at this point. I managed to get one in this photo. See that tiny circle? I circled him to show him off.

Cute huh?
Cute huh?
Our seedlings have also started to sprout. Right now just peas and broccoli but I'm sure the others will come up this week.

Soon the plan for world domination shall be complete! bwahaha!
Tuesday, February 10, 2009
I'm rooting for early spring
This weekend was super busy at our house. We've had a rash of warm weather the last few days and all the ice and snow that covered the land has receded. It's probably not permanent but we've taken the opportunity to get out and get some things done around the yard. We discovered a pile of bricks next to our shed. Who knows what the previous owner had planned for them, but there are nearly 200 over there. I thank Planck for climbing the mountain and showing me they were there. We were planning to buy bricks to build our compost bins from-no need now!
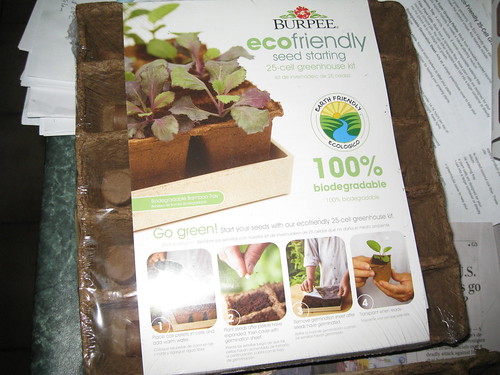
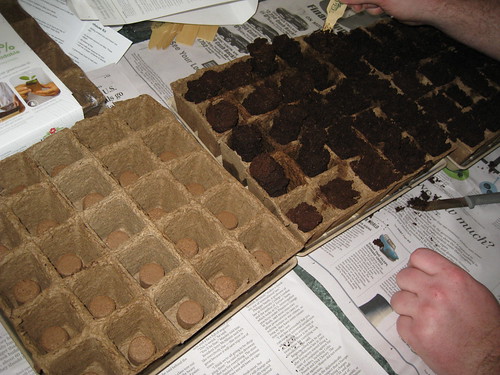
We also planted the first of our seeds. We found some great Burpee kits that are all biodegradable and compostable as well as being darn cute.
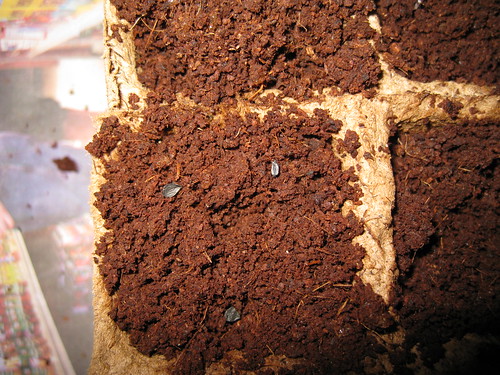
Here are some tiny garlic chives resting on the dirt.
 Ever wonder how small an oregano seed is? Wonder no more!
 We took a well deserved break to admire our handiwork. Now the little guys are resting downstairs until they start to sprout. We'll bring them up into the sun after that. I just hope we can get the roofer out here to give us some estimates while it is still so nice out.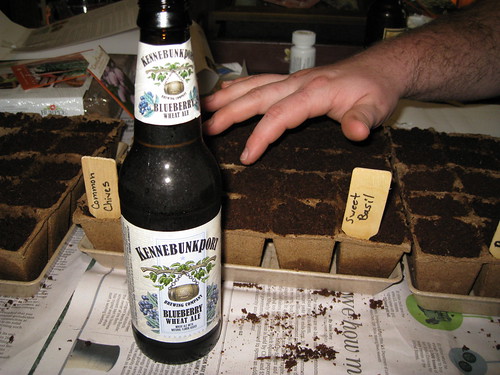
In knitting news, I finished another pair of socks this evening. They are for the January Sock Knitters Anonymous challenge. Our challenge was to knit a pattern from an online magazine, beaded socks, or the mystery sock. I've been trying really hard to knit from stash so we have money to do all the lovely things with the house. Since I don't have any beads in there, I opted to knit a pattern from Knitty.com.
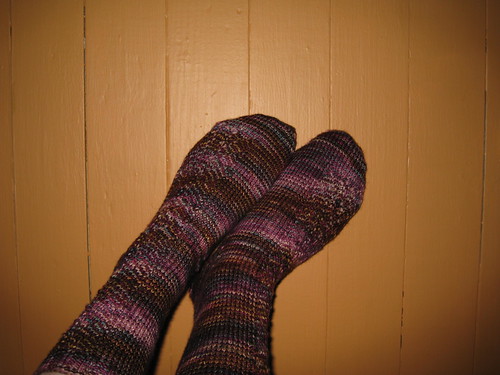 Pattern: Blackrose from Knitty.com
Yarn: Handmaiden Casbah
Needles: Knitpicks circulars in size 2
Notes: This is the first time I have used this yarn and I LOVE it. It is so soft and warm. The colors are very vibrant but unfortunately I can't capture them in the pictures. This is the first time I have mirrored the pattern on each side of the leg. It caused me some issues because I wanted to knit the second sock like the first. Some frogging ensued but they turned out well.
Wednesday, February 4, 2009
Finished legwarmers
Eep! I forgot to post that I finished my beautiful legwarmers and test drove them with a skirt on Monday. They are great and I love them. We went upstairs for this photoshoot where there aren't boxes all over the place. Einstein was quite quizzical about them. He ended up in pretty much every photo. The other dogs were smart enough to stay downstairs where there is heat.


Pattern: Traveling Stitch Legwarmers featured in Knit So Fine or Interweave Knits Spring 2008
Yarn: Knitpicks Risata in Sable (the color is being discontinued)
Needles: Addi Turbos size 2 (3.0 mm for the metric inclined)
Each legwarmer took about a skein. Since I am short I had to omit all the lines above the medallion motif. I put in only 10 rows of ribbing at the top to match the rib at the bottom and I used Elizabeth Zimmerman's sewn bind off. I learned how to cable without a cable needle too and plan to make my next pair of socks with cables this way.
It's still cold here. Tonight's low will be 7 degrees. The plus side is that the ice is beautiful.

Subscribe to:
Posts (Atom)